Building compost bins
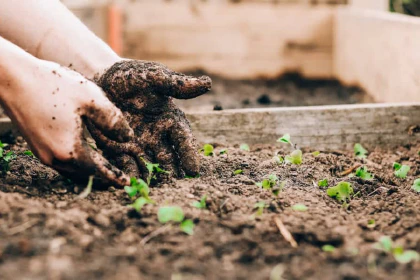
Composting will play an essential role in my garden. First, it’s free fertilizer. Second, there is an incredible amount of grass clippings and leaves in my and my neighbors’ yards. Then there’s all the food waste from our kitchens — tea leaves, banana peels, eggshells, apple cores, wilted salad leaves, and so much more.

My garden plan calls for three bins which (eventually) will give me plenty of compost for my garden. Each compost bin is approx 3ft x 3ft x 3ft, has a top that opens, and boards in the front that can be removed for easier access. The sides and top have chicken wire to hold in the compost while still letting in air and rain. The chicken wire also keeps out larger animals (e.g. rodents, etc.). There is also no bottom, and worms (and other crawly things) can get to the compost from below.
I researched several options ranging from having a compost pile in the corner of my yard to buying barrel-type models that one can turn over and everything in between. The loose pile idea was nixed mostly for practical and aesthetic reasons. The idea of building a barrel-type composter also got nixed. Most types available for purchase were either too small, difficult to load or empty, difficult to turnover, etc.

Eventually, I found a set of plans over on the “Woodworking for Mere Mortals” blog. The building instructions were easy to follow, and I went ahead and built 3 units. In fact, building 3 at the same time did not take much longer than it would have taken to build just one.
I also had to prep the space where the bins would be located. My property is sloping quite a bit. But I carved out a large enough spot for the 3 bins, and they don’t lean much at all.
Combining several units into a single entity is possible, and I contemplated doing so initially. But I’m glad I didn’t, as it is much easier to handle individual units, especially when the underlying surface is not perfectly flat.
As for materials, I chose untreated wood, which I stained before assembly. I didn’t want to use treated wood, but we’ll see if this was a wise choice. Worst case scenario is that I’ll have to rebuild these bins much sooner. Next time, though, I will use treated wood.
All in all, I’m happy with the outcome. The bins are relatively inexpensive and easy to build, and (so far) also easy to use. We’ll see how well they’ll hold up to weather and wear and tear.