f451 Labs RPI SenseHat module
Overview
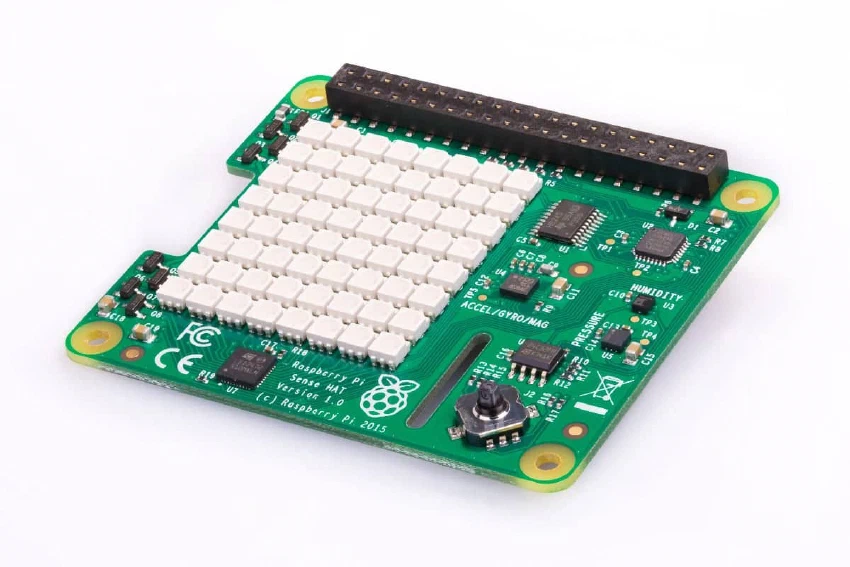
The f451 Labs SenseHat module encapsulates the drivers for the Raspberry Pi Sense HAT within a single class. This module also provides a standard set of methods to read sensor data and display content to the onboard 8x8 LED display.
Core classes and functions
This module includes the following main classes and functions:
- SenseHat — Main class for managing Sense HAT add-on.
- SenseHatError — Helper class for handling errors related to Sense HAT.
- prep_data — Helper function to prep/format data for display on Sense HAT 8x8 LED display.
In addition, the SenseHat class has the following core methods and properties:
- displayWidth — Property: width (cols) of LED display.
- displayHeight — Property: height (rows) of LED display.
- isFake — Property: ‘False’ if physical Sense HAT.
- get_CPU_temp() — Get CPU temp which we then can use to compensate temp reads.
- get_pressure() — Get barometric pressure from sensor.
- get_humidity() — Get humidity from sensor.
- get_temperature() — Get temperature from sensor.
- add_display_modes() — Add one or more display modes to the list.
- set_display_mode() — Switch display mode.
- update_sleep_mode() — Switch to/from sleep mode.
- joystick_init() — Initialize joystick actions.
- display_init() — Initialize display so we can draw on it.
- display_rotate() — Rotate display +/- 90 degrees.
- display_on() — Turn ‘on’ LED.
- display_off() — Turn ‘off’ LED.
- display_blank() — Erase LED.
- display_reset() — Erase LED.
- display_sparkle() — Show random sparkles on LED.
- display_as_graph() — Display data as graph.
- display_message() — Display text message - wrapper for ‘display_8x8_message.
- display_progress() — Display progress bar.
- display_8x8_image() — Display 8x8 image on LED.
- display_8x8_message() — Display scrolling text on LED.
Please refer to the GitHub repo for source code and documentation.
Dependencies
This module depends on the following libraries:
NOTE: Only install sense-hat library on a device that also has the physical Sense HAT installed.
NOTE: You can run this app in demo mode in (almost) any device even without the Sense HAT. It will then create random numbers and can send output to the logger when log level is DEBUG or when --debug flag is used.
How to use
SenseHat Device
The SenseHat object makes it easy to interact with the Sense HAT device. The methods of this object help read sensor data, display data to the 8x8 LED, etc., and using the module is straightforward. Simply import it into your code and instantiate an SenseHat object which you can then use throughout your code.
# Import f451 Labs SenseHat
from f451_sensehat.sensehat import SenseHat

# Initialize device instance which includes all sensors
# and LED display on Sense HAT
mySense = SenseHat({
    "ROTATION": 0,
    "DISPLAY": 0,
    "PROGRESS": 0,
    "SLEEP": 600
})

print(f"TEMP:     {round(mySense.get_temperature(), 1)} C")
print(f"PRESSURE: {round(mySense.get_pressure(), 1)} hPa")
print(f"HUMIDITY: {round(mySense.get_humidity(), 1)} %")
SenseHat Data
The f451 Labs SenseHat module also includes a SenseData object and a few other helper objects. These objects are designed to simplify storing and managing sensor data. The SenseData object implements so-called double-ended queues (‘deque’) which makes it easy to add and retrieve data. To use these objects in your code, simply import them into your code and instantiate an SenseData object.
# Import f451 Labs SenseHat Data
from f451_sensehat.sensehat_data import SenseData

maxLen = 10     # Max length of queue
defVal = 1      # Default value for initialization

myData = SenseData(defVal, maxlen)

# Assuming we have instantiated the SenseHat object as 'mySense' we
# can then read and store sensor data right into the data queues
myData.temperature.data.append(mySense.get_temperature())
myData.pressure.data.append(mySense.get_pressure())
myData.humidity.data.append(mySense.get_humidity())